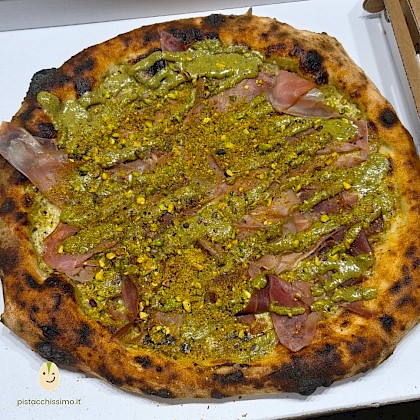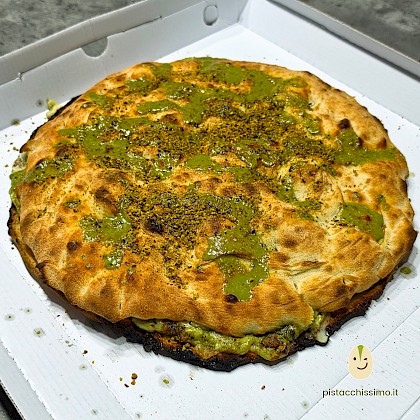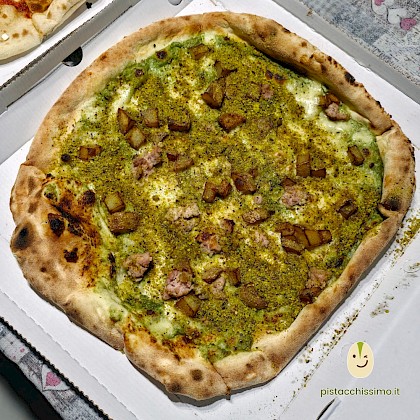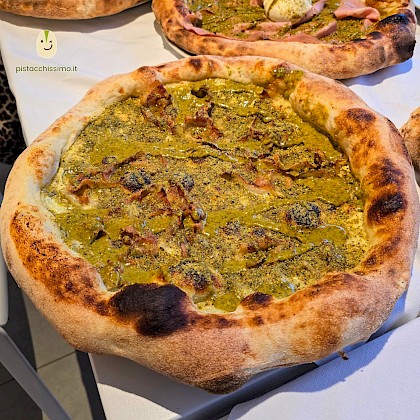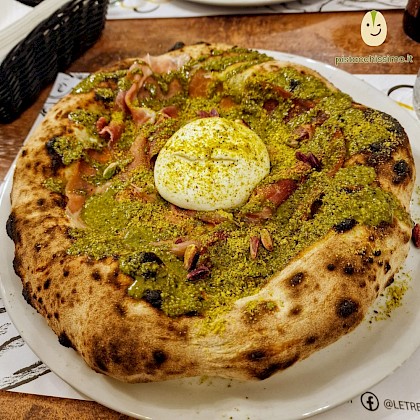
A super easy recipe for pizza dough, perfect for both classic Neapolitan and fried versions.

Today we're looking at a super easy recipe to make Neapolitan pizza dough at home, which you can use for both classic pizza (oven-baked) and montanarine (fried mini-pizzas).
DISCLAIMER:
I am not a professional pizzaiolo and I have no intention of claiming this is the recipe of the century! I've just studied a few recipes from various sources and experimented, so go easy on the criticism and have fun with it yourself.
INGREDIENTS:
- 1 kg of strong 00 flour (around W300)
(you'll find tips for weaker flours below) - 630 g of water
- 20 g of salt
- 20 g of extra virgin olive oil
- 10 g of sugar
- 1 g of dry yeast or 2 g of fresh yeast
(double the yeast if using weak flour)
You can halve all the measurements if you want a smaller batch.
Obviously, dry yeast needs to be activated (just search online for "how to activate dry yeast"). Fresh yeast, on the other hand, is ready to use.
METHOD:
GENERAL NOTE: throughout the following steps, keep a handful of extra flour handy, as it can help you at any time to handle the dough so it doesn't stick to the work surface or your hands.
- Pour the water into a sufficiently large bowl.
- Dissolve ALL the salt in the water well.
(It should NEVER come into direct contact with the yeast) - Take a quarter of the flour and add the yeast, crumbling it in and mixing.
- Start adding this flour and yeast mixture to the water and mix well to create a first paste.
(use a fork to help you) - Add the sugar and oil and mix well.
(continue using the fork) - Continue gradually adding the remaining flour (except for the little bit set aside for dusting) and knead well until you get a smooth, homogeneous mixture.
(at a certain point, the fork won't be enough and you'll need to use your hands)
NOTE: when kneading by hand, press down with the palm of your hand and fold the dough over itself. Do this repeatedly to incorporate air well.
- Let the ball of dough rest for a few minutes.
- Roll it out into a log and cut the dough balls.
With the recipe measurements, you will get: - PIZZAS: 7 dough balls of about 230g each.
- MONTANARINE: 27 dough balls of about 60g each.
- Shape each dough ball to get the typical mushroom shape.
NOTE: to shape the dough ball, pull the dough from top to bottom (without tearing it!), folding it towards the center of the base to create the mushroom shape and incorporate air.
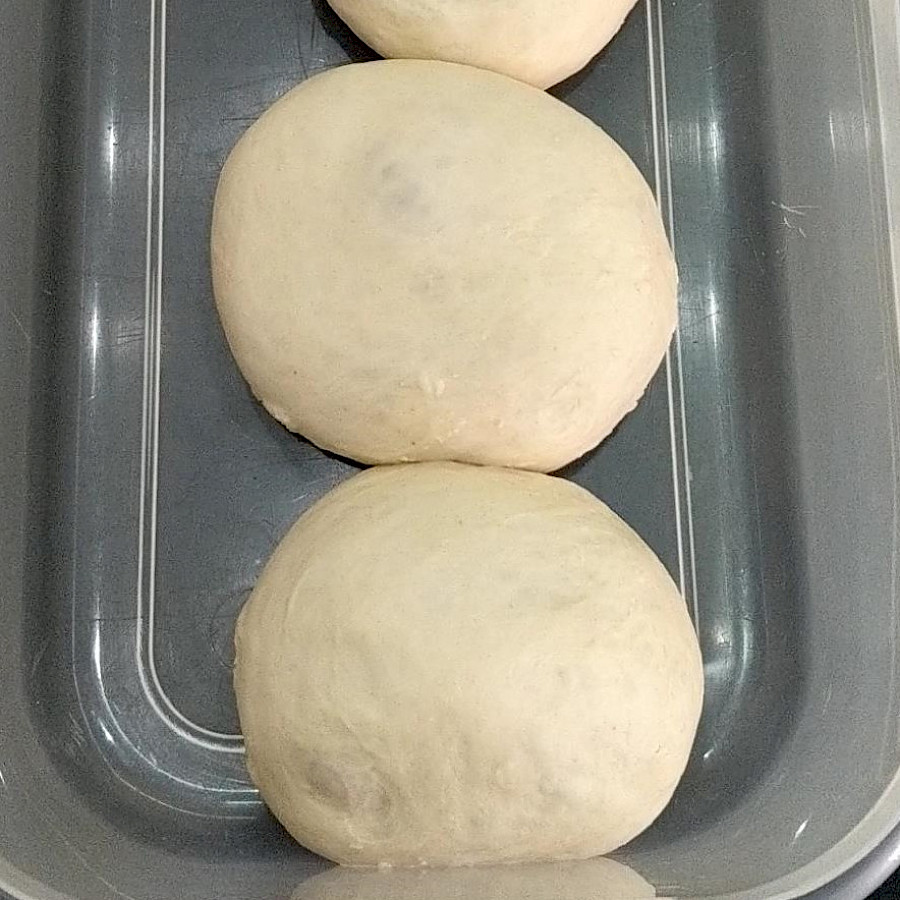
- Place the dough balls in a plastic container with an airtight lid, spaced a few centimeters apart (because they will grow a bit). Cover them with cling film placed in contact with the dough to prevent condensation. Close the container and put it in the fridge.
- Leave them in the fridge at about 4°C; this will allow maturation to proceed while slowing down the proofing (so they shouldn't increase much in volume).
If you are using strong flour as per the recipe, you can let it mature for 48/72 hours; conversely, with weak flour, it's better not to go beyond 12 hours. - Take them out of the fridge, remove the cling film, and reshape them into mushroom shapes.
- Put them back in a plastic container, but much further apart because they will need to proof and therefore double in volume.
Sprinkle the base with flour to prevent sticking. - Close the container and wait for the proofing.
If you use strong flour as suggested, you can let it proof for about 10 hours; conversely, with weak flour, about 4 hours is better.
These are indicative times, however, because they depend on the ambient temperature and the quality of the yeast.
Getting the proofing point right is FUNDAMENTAL: basically, the dough ball must double in volume but remain circular.
If it proofs too much or too little, it will be difficult to stretch and the final result will be worse. - Using a little flour, take the dough ball for stretching.
This is how I do it: a few slaps to the right and left (if it's at the right proofing point, it stretches in an instant!), then I place it on the floured work surface and stretch it by making a rotary movement with both open hands. For these dough balls, the right size is when two hands fit inside the pizza.
I lift it, blow off the excess flour, and place it on the small peels used for putting it in the oven.
Now it's time to move on to baking and toppings! I'll refer you to the dedicated articles:


Happy pizza making, everyone!